Every homeowner faces a big challenge when it comes to replacing the house roof. It feels stressful because of the process. You can’t do this without the help of roofing professionals, unless you’re an expert. That’s why you need a clear checklist that helps you stay prepared and makes the project smoother.
In this guide, we’ll walk through what to do before, during, and after a roof replacement. We’ve made the checklist in simple language, so you know exactly what steps to take.
Before the Roof Replacement
1. Get a Professional Inspection
Start with a professional roof inspection. A roofing contractor will check for leaks, damaged shingles, mold, or structural issues. This helps you determine if a full replacement is truly necessary or if repairs will suffice. It also gives you a cost estimate so you can budget correctly.
2. Choose the Right Contractor
Hiring the right roofing contractor is the most important step. Look for local companies with good reviews, licenses, and insurance. Ask for references from past clients. A reliable contractor will explain the process, show you material samples, and give you a detailed contract.
3. Pick Your Roofing Material
Different materials have different lifespans and costs. Asphalt shingles are affordable and common. Metal roofs last longer but cost more. Tile and slate are durable but heavy. Choose a material that fits your budget, climate, and the style of your home.
4. Prepare Your Budget
Roof replacement is a major expense. Get quotes from at least three contractors. Ask if the estimate includes labor, materials, permits, and cleanup. Keep extra money aside for unexpected repairs, like rotten decking under the old roof.
5. Prepare Your Home and Yard
Before the project starts, clear your driveway and yard. Roofers will need space for ladders, dumpsters, and materials. Move your vehicles to the street. Cover plants and outdoor furniture to protect them from falling debris. Inside, remove fragile items from walls and shelves because vibrations from construction can shake them loose.
6. Plan for Noise and Disruption
Roof replacement is loud. Hammers, nail guns, and people walking on your roof can be disruptive. If you work from home, make other arrangements. Pets and small children may be scared by the noise, so consider taking them to a quieter place for the day.
During the Roof Replacement
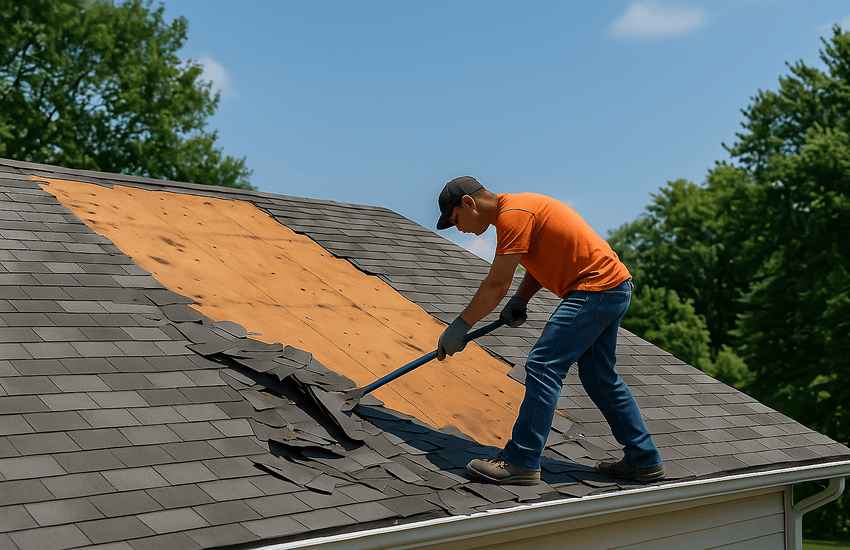
1. Removing the Old Roof
The first step is tearing off the old roof. Roofers will remove shingles, underlayment, and flashing. This creates noise and debris, but it is necessary for a solid new roof. A dumpster will be on-site to collect waste. This stage usually takes one day, depending on the roof size.
2. Inspecting the Roof Deck
Once the old shingles are gone, the roof deck is inspected. If there are rot, mold, or weak spots, the contractor will replace the damaged wood. This ensures the new roof has a strong base.
3. Installing the Underlayment
After repairs, roofers install an underlayment. This is a protective layer that blocks water and improves insulation. Some homes may also need ice and water shields in vulnerable areas like valleys and eaves.
4. Installing the New Roof
Now it’s time to install the new material. Shingles, metal panels, or tiles are carefully placed and nailed down. Contractors also install flashing around chimneys, skylights, and vents to prevent leaks. Finally, they will add ridge vents for proper airflow in your attic.
5. Daily Cleanup
Good contractors clean up as they go. They will remove debris, pick up nails with magnets, and keep your yard safe. Still, you should check the area at the end of each day so you can address any issues immediately.
6. Safety Measures
Roof work is dangerous, but professionals follow safety rules. Keep your family away from the work area. Do not let children or pets near ladders or tools. Make sure workers are using safety harnesses and proper equipment.
After the Roof Replacement
1. Final Inspection
When the job is done, the contractor should do a final walkthrough with you. They will check shingles, flashing, and ventilation. Ask questions if you notice anything that doesn’t look right. A good contractor will make sure you are satisfied before leaving.
2. Cleanup and Waste Removal
The crew should remove all waste, nails, and leftover materials. Your yard, driveway, and gutters should be clean. If you see debris left behind, ask the contractor to finish the cleanup.
3. Review Your Warranty
Most roofing materials come with a manufacturer’s warranty. Contractors also provide a workmanship warranty. Review both documents carefully. Know what is covered, how long it lasts, and what can void the warranty.
4. Check Your Gutters and Attic
After replacement, check your gutters for leftover nails or shingle pieces. Also, inspect your attic for leaks or daylight coming through the roof. This helps you catch small issues early.
5. Update Your Home Insurance
Notify your home insurance company about your new roof. A new roof often lowers your premium because your home is safer. Provide receipts and warranty papers to your insurance agent.
6. Schedule Regular Maintenance
Even a new roof needs care. Make sure you inspect the roof every two years it it needs any replacement. Keep your gutters clean, trim overhanging tree branches, and check for missing shingles after heavy winds.
7. Enjoy the Benefits
With a new roof, you will notice better comfort inside your home. Your energy bills may go down, your home will look newer, and you can relax knowing your family is protected.
Conclusion
A roof replacement may sound overwhelming, but with the right plan and contractor, it becomes manageable. By following this checklist before, during, and after the project, you can ensure a smooth process and a roof that lasts for many years.
If you are a homeowner in Sachse, Texas, Oak Custom Remodeling is here to guide you every step of the way. From planning to installation, our team brings trusted expertise and local care. If you need help with roof replacement, feel free to give us a call today.