

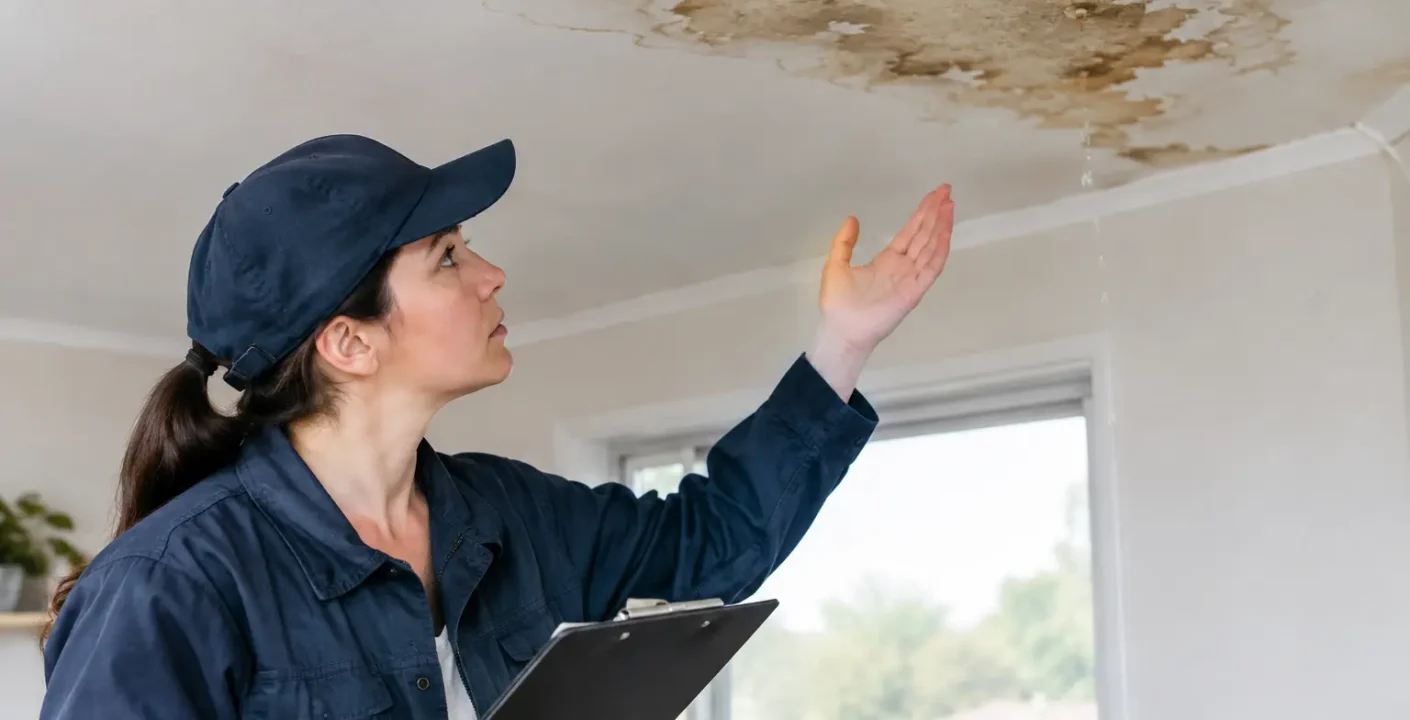
A water spot on the ceiling rarely tells the whole story. By the time you can see discoloration, paint bubbling, or a drip during a North Texas storm, water may have traveled through insulation, framing, or wall cavities. Knowing how to evaluate roof leak damage promptly helps you protect your home, make a clearer insurance decision, and avoid turning a manageable repair into a larger remodeling project.
Roof leaks are especially common after wind-driven rain, hail, damaged shingles, or clogged drainage. The source is not always directly above the stain, either. Water can move along roof decking, rafters, pipes, and insulation before it finds a visible exit point inside the house.
Start With Safety and Stop Active Water
If water is actively entering the home, focus first on limiting damage rather than diagnosing the roof from a ladder in bad weather. Place a bucket under drips, move furniture and electronics, and use towels to absorb standing water. If the ceiling is sagging or bulging, stay out from underneath it. A water-filled section of drywall can fail without much warning.
Turn off electricity to the affected area if water is near a light fixture, outlet, ceiling fan, or electrical panel. Do not touch wet electrical components. A licensed professional should assess those conditions before power is restored.
Avoid walking on a wet roof or climbing onto a roof during or immediately after a storm. From the ground, you may be able to spot missing shingles, displaced flashing, fallen branches, or obvious debris. That information is useful, but a close roof inspection is safer and more reliable when handled by a qualified contractor.
How to Evaluate Roof Leak Damage Inside Your Home
Begin indoors, where the damage is often easiest to document. Take clear photos and short videos before cleaning, drying, or removing damaged materials. Include wide shots that show the room and close-up images that show staining, bubbling paint, wet flooring, or damaged belongings. If the leak occurred during a storm, make a note of the date, time, and weather conditions.
Look beyond the most obvious stain. Check the ceiling and walls around it for soft drywall, peeling paint, swollen trim, and hairline cracks. Press gently on suspect drywall only if the area is stable and there is no electrical concern. Drywall that feels soft, spongy, or unusually cool may still contain moisture.
Water can also reach areas below the ceiling. Inspect nearby flooring, baseboards, cabinetry, window trim, and closets. Hardwood and laminate may cup or separate at seams. Carpet padding can hold moisture long after the surface feels dry. In bathrooms, laundry rooms, and kitchens, do not assume the roof is automatically at fault. A plumbing leak, failed vent connection, or condensation issue can create similar symptoms.
Check the Attic When It Is Safe
An attic inspection can narrow down the location and severity of a roof leak. Enter only when the area is dry enough to walk safely, has adequate lighting, and has no exposed electrical hazard. Step only on framing or designated walkways, never on the drywall ceiling between joists.
Use a flashlight to look for damp insulation, darkened roof decking, water trails on rafters, rusty nail tips, or mold-like staining. Fresh moisture often leaves wood darker than the surrounding area, while older leaks may produce rings or repeated staining. A musty odor can also indicate a chronic moisture problem.
Keep in mind that attic evidence can be misleading if the roof has dried since the storm. A professional moisture meter or thermal imaging inspection can help identify damp materials that look normal on the surface.
Identify the Most Likely Entry Point
Leaks often occur where the roof system changes direction or where another component penetrates the roof. Damaged shingles matter, but so do flashing details around chimneys, skylights, wall intersections, valleys, plumbing vents, and roof-mounted equipment.
In North Texas, wind can lift shingle edges and break the seal that keeps rain out. Hail can bruise or crack shingles without removing them entirely. High heat can also accelerate wear on sealants and flashing. A leak after a major storm may be storm-related, while a slow stain that appears during ordinary rain may point to aging materials, installation issues, or deteriorated flashing.
Do not rely on a single visible damaged shingle to explain the problem. The actual entry point can be several feet away from where water appears indoors. A thorough inspection should consider the roof covering, underlayment, flashing, gutters, attic ventilation, and the interior path of the water.
Measure the Damage, Not Just the Leak
The right repair depends on how long water has been present and which materials were affected. A small, recent leak around a vent boot may require a focused roof repair and limited interior touch-up. A recurring leak that has saturated insulation and drywall may require drying, material removal, mold prevention, and reconstruction.
When assessing severity, consider these questions:
- Did the leak happen once during an unusually severe storm, or has it returned?
- Is the ceiling stain dry and stable, or growing after rain?
- Are insulation, framing, drywall, flooring, or cabinets wet or warped?
- Is there a musty smell, visible mold growth, or dampness that persists after the weather clears?
- Are multiple rooms showing signs of water intrusion?
The answers help determine whether the issue is likely a straightforward repair or a broader water-damage project. Hidden moisture is the main concern. Leaving wet insulation or enclosed drywall in place can create odor, mold growth, deteriorated materials, and repeat damage even after the roof itself is repaired.
Watch for Signs of Structural or Mold Concerns
Most roof leaks do not immediately create structural failure, but ongoing moisture can weaken wood and cause drywall to deteriorate. Call for professional assessment promptly if you see a sagging ceiling, cracked or bowed drywall, rotted roof decking, widespread staining, or water near electrical systems.
Visible mold growth, especially over a larger area, also deserves timely attention. Do not paint over staining or mold before the moisture source is repaired and the affected area is properly dried. Covering the symptom may make the room look better temporarily, but it does not protect the building materials behind it.
Document Damage for Repairs and Insurance
Good documentation makes repair planning easier and may support an insurance claim when storm damage is involved. Save photos and videos, record the date of the event, and keep copies of emergency mitigation invoices, inspection reports, and repair estimates.
If you plan to contact your insurance carrier, review your policy and ask about its requirements before authorizing extensive non-emergency work. You should still take reasonable steps to prevent further damage, such as placing a temporary covering over an exposed area or removing standing water. Keep receipts for those protective measures.
Be cautious of anyone who promises to handle every insurance outcome before inspecting the property carefully. A reputable contractor can explain visible conditions, recommend appropriate repairs, and provide a clear scope of work. The insurer makes the coverage decision.
Repair the Cause Before Restoring the Interior
One of the most expensive mistakes homeowners make is repairing the ceiling before the roof issue is resolved. Fresh paint and new drywall cannot withstand another intrusion. The correct sequence is to locate and repair the source, dry affected materials, remove materials that cannot be properly dried, and then restore the interior finishes.
The timeline depends on the extent of the leak. A small repair with limited staining may move quickly once the roof is sealed. If insulation, framing, cabinetry, or flooring has been affected, drying and reconstruction may take longer. Clear communication about what is being repaired, what is being monitored, and what may need replacement helps prevent surprises.
For homeowners who need both exterior repair coordination and interior restoration, working with an experienced local remodeling team can reduce the handoffs between trades. Oak Custom Remodeling helps North Texas homeowners address damaged finishes and rebuild affected spaces with practical attention to long-term value.
Prevent the Next Roof Leak
After repairs, schedule periodic roof and attic checks, particularly after hail or high-wind events. Keep gutters and downspouts clear so water can move away from the roofline and foundation. Trim branches that scrape the roof or could fall during storms, and address loose flashing, cracked sealant, and aging roof penetrations before they become active leaks.
A roof leak does not need to become a full-home disruption. Document what you see, protect the affected area, and get a qualified assessment before hidden moisture has more time to travel through your home.