Fresh paint can make a room look newer overnight, but most painting problems start before the first coat ever goes on. An interior painting preparation checklist helps homeowners avoid the issues that lead to uneven coverage, peeling, roller marks, damaged floors, and longer project timelines.
If you are painting one bedroom or updating most of your home, preparation is what separates a quick cosmetic change from a finish that actually lasts. In North Texas homes, that matters even more. Temperature swings, dust, everyday family traffic, and normal wall wear all affect how well paint adheres and how good it looks once dry.
Why preparation matters more than most homeowners expect
Paint is only as good as the surface underneath it. A beautiful color choice cannot hide nail pops, greasy kitchen walls, old patchwork, or trim gaps. In some cases, paint makes those flaws stand out more.
Preparation also affects the schedule. Homeowners often assume painting is mostly about brushwork and color selection, but the real time is usually spent clearing rooms, protecting surfaces, repairing walls, sanding, caulking, and priming where needed. That work may feel less exciting, but it is what creates straight lines, smooth walls, and a finish that holds up to daily use.
There is also a cost side to it. Skipping prep can mean needing more paint, more touch-ups, or repainting sooner than expected. For property owners thinking about resale value, poor interior painting tends to signal rushed work, even when the color itself is attractive.
Interior painting preparation checklist before any paint is opened
A good plan starts with the room itself. Walk the space in daylight and again at night with the lights on. Surface flaws often show differently depending on the lighting, and that affects what repair work you need to do before painting begins.
Start by removing as much as possible from the room. Small decor, wall art, electronics, curtains, and fragile items should come out completely. Larger furniture can stay if needed, but it should be moved to the center of the room and fully covered. This gives painters enough space to work around walls, corners, baseboards, and ceilings without rushing.
Next, take down anything attached to the walls that might interfere with a clean finish. That includes outlet covers, switch plates, curtain hardware, vents, hooks, and removable shelving brackets. Leaving these in place saves a few minutes upfront but usually creates messy edges and extra cutting-in work later.
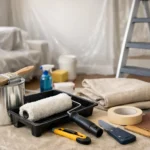
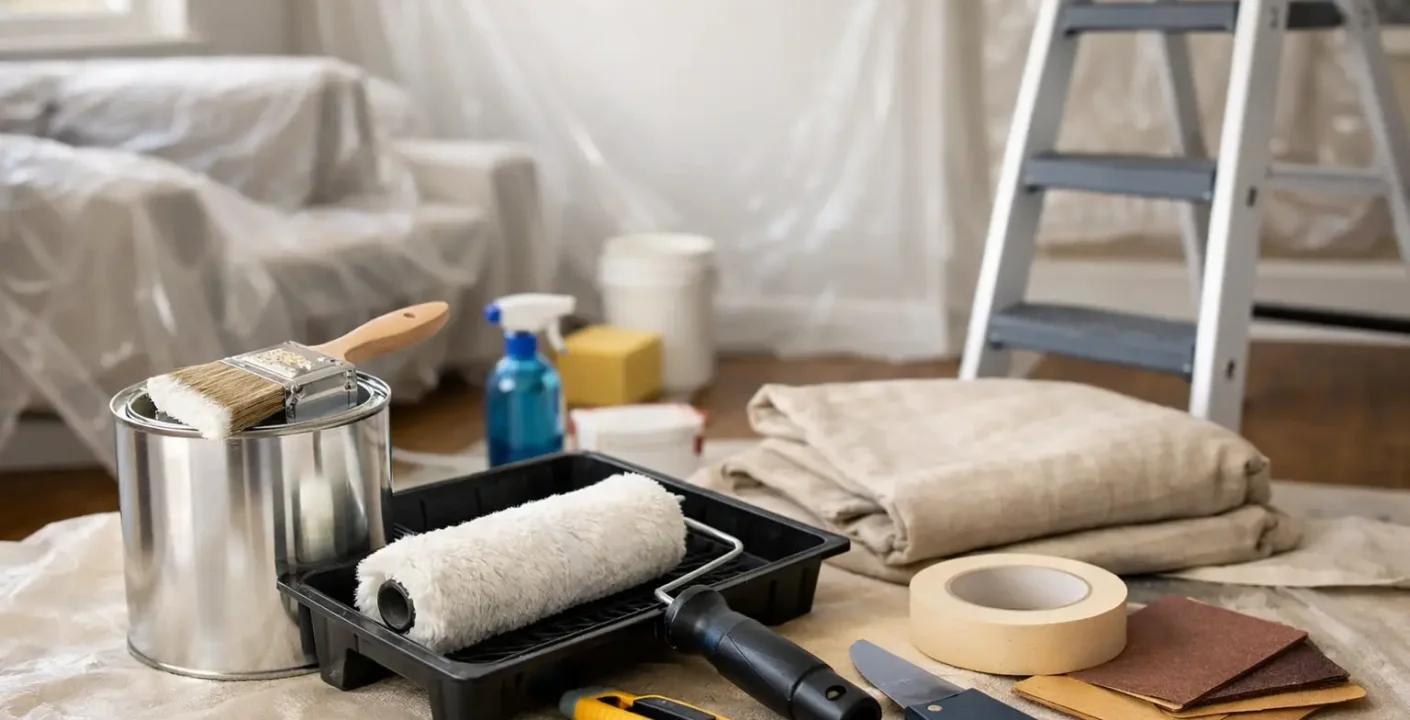
Floors need protection before prep begins, not just before painting. Sanding dust, patching compound, drips, and tools can all damage flooring. Canvas drop cloths are usually better than thin plastic for active work areas because they stay in place and reduce slipping. Plastic still has a place for sealing furniture and isolating nearby surfaces, but on floors alone it can be more trouble than it is worth.
Finally, identify the condition of every painted surface. Look for cracks, dents, nail holes, peeling areas, water stains, scuffs, and glossy patches. Kitchens, bathrooms, hallways, and kids’ rooms often need more cleaning and more repair than homeowners expect.
Surface prep is where the finish is won or lost
Once the room is cleared and protected, surface preparation becomes the priority. Walls should be cleaned before any sanding or patching is finalized. Dust, oils, smoke residue, hairspray, and cooking grease interfere with adhesion. Even walls that look clean may have a film on them, especially near light switches, around door frames, and in kitchen or dining areas.
After cleaning, patch visible holes and dents with the right filler for the surface. Minor nail holes are simple, but larger drywall damage may need more than a quick swipe of compound. If the patch sinks, cracks, or flashes through after painting, the wall will look inconsistent. This is one of those areas where doing less upfront often creates more work later.
Sanding should be targeted and thorough. The goal is not to remove every bit of old paint. It is to smooth repaired spots, feather rough edges, dull glossy areas, and create a surface the new coating can grip. Once sanding is complete, dust needs to be removed fully. Painting over sanding dust creates texture and weakens the bond.
Caulking is another step that improves the final look, especially around trim, door casings, window casings, and baseboards. Small gaps may seem harmless, but after fresh paint goes on, those lines can become more noticeable. A clean bead of paintable caulk helps trim look finished rather than pieced together.
When primer is necessary and when it depends
Homeowners sometimes treat primer as optional in every situation, but that depends on the condition of the surface and the type of change being made. Primer is often a must when painting over repairs, bare drywall, stained areas, dark colors, glossy finishes, or surfaces with inconsistent porosity.
If you are keeping a similar color and the existing paint is in good shape, a separate primer coat may not always be needed. But when you are moving from a deep shade to a much lighter one, trying to cover water spots, or repainting patched walls, skipping primer usually shows up in the finished product.
Bathrooms, laundry rooms, and kitchens can be especially tricky. Moisture, residue, and frequent cleaning mean these rooms benefit from careful product selection and stronger prep standards. In those spaces, what works in a guest bedroom may not perform the same way.
Don’t overlook trim, ceilings, and high-contact areas
A room rarely looks fully refreshed if only the walls are addressed. Trim, baseboards, interior doors, and ceilings can make newly painted walls look crisp or make them look unfinished by comparison.
Trim takes more abuse than most surfaces in the home. It gets scuffed by shoes, vacuums, pets, and furniture, so it often needs heavier cleaning and more sanding than walls. Gloss level matters too. Higher-sheen finishes can be easier to wipe down, but they also reveal more imperfections. The right choice depends on the room, the condition of the trim, and how much daily wear it sees.
Ceilings are easy to postpone, but if they are stained, yellowed, cracked, or patched, leaving them untouched can limit the impact of the whole job. The same goes for doors and frames. In a hallway or main living area, these are highly visible elements, and a fresh wall color may draw more attention to older surfaces nearby.
Preparing for a smoother painting day
Good prep also includes logistics. Decide where materials will be staged, how rooms will stay ventilated, and whether family members or pets need to be kept out of the area during work. This may sound basic, but interruptions create mistakes, especially during cutting-in, drying, and second-coat timing.
Lighting should be improved before painting starts. Temporary work lights or brighter bulbs can reveal missed repairs and thin coverage that ordinary room lighting hides. It is much easier to catch those issues before paint cures.
You should also think through sequencing. If multiple rooms are being painted, the order matters. Closets, ceilings, trim, and walls each affect workflow differently. In occupied homes, it often makes sense to tackle low-traffic rooms first, then move into central living areas once the process is dialed in.
This is one reason many homeowners choose experienced contractors for interior painting instead of treating it like a simple weekend task. A dependable crew already knows how to prepare efficiently, protect the home, and spot the hidden issues that can affect the final result. For families in Sachse and the greater Dallas-Fort Worth area, that kind of planning often matters just as much as the paint itself.
A practical room-by-room mindset
Not every room needs the exact same preparation checklist. A formal dining room may need very little wall repair, while a busy kitchen may need serious cleaning before any coating can go on. A nursery or primary bedroom may involve furniture protection and low-odor product choices, while an older bathroom may raise questions about moisture damage or failing caulk lines.
That is why the best interior painting preparation checklist is not just a generic to-do list. It is a way of evaluating each room honestly so the finish matches the expectations. If the goal is quick cosmetic improvement, prep may stay lighter. If the goal is long-term value and a more professional result, prep needs to be more detailed.
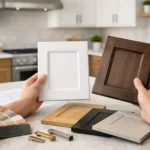
Color selection gets most of the attention, but preparation is what protects that investment. When the walls are clean, repairs are smooth, trim is ready, and the room is properly protected, the painting process becomes simpler and the outcome looks more consistent.
A well-prepared room does not just make paint look better on day one. It gives you a finish that stands up better to everyday life, and that is what most homeowners are really paying for.