
A curbless shower can make a bathroom feel larger, cleaner, and easier to use, but the finished look depends on decisions hidden below the tile. Knowing how to plan a curbless shower before demolition begins helps prevent one of the most expensive bathroom remodeling problems: water escaping the shower because the floor, drain, or waterproofing system was not designed as one complete assembly.
For homeowners in Sachse and across the Dallas-Fort Worth area, planning also has to account for the existing structure. A bathroom over a concrete slab presents different options than one over a raised wood subfloor. The right plan protects the home while delivering the open, low-threshold design that makes curbless showers so appealing.
Start With the Existing Floor Structure
A true curbless shower has no raised threshold to contain water. Instead, the shower floor slopes gradually toward the drain while the bathroom floor outside the shower remains dry. That requires enough depth below the finished tile for the drain assembly, waterproofing layers, mortar bed or shower pan, and proper slope.
In a home with a wood subfloor, the contractor may be able to recess or modify the framing in the shower area. This creates the depth needed to lower the shower floor without raising the rest of the bathroom. The framing work must be carefully engineered so it does not weaken floor joists or create a bouncy surface that could crack tile and grout later.
Concrete slab homes, which are common in North Texas, require a different conversation. The slab may need to be cut and lowered around the shower, especially if the plumbing drain needs to move. In some layouts, the bathroom floor can be built up slightly outside the shower instead. Neither approach is automatically better. The best choice depends on the slab, drain location, ceiling height, doorway transitions, and how much of the room is being remodeled.
This is why a contractor should inspect the home before promising a completely flush entry. A modestly low threshold may be the more practical and cost-effective solution in some existing bathrooms.
Plan Curbless Shower Drainage Before Choosing Tile
Drain placement controls much of the shower design. A traditional center drain usually requires the floor to slope from several directions. That can work well in a larger shower, but it may mean more visible cuts in large-format tile.
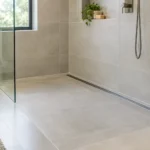
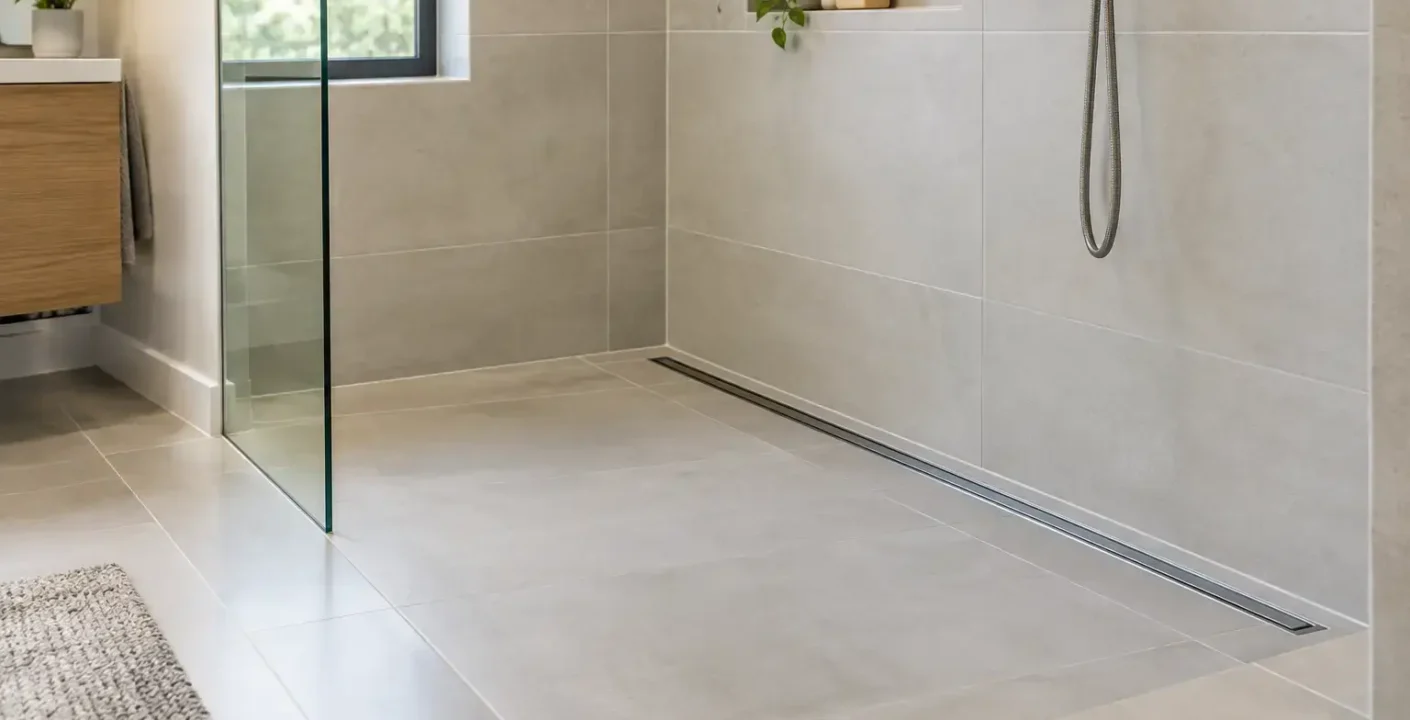
A linear drain, often placed along the back wall or at the shower entrance, allows the floor to slope in one direction. Many homeowners prefer this option because it can create a cleaner look and work especially well with large tiles. However, linear drains can cost more and require precise installation. The drain body, grate, floor slope, and waterproofing system must all be compatible.
The standard shower floor slope is generally at least one-quarter inch per foot toward the drain. That may sound minor, but it affects the final elevation of the room. A shower that is six feet deep needs enough drop to move water efficiently without feeling uncomfortably steep underfoot.
Do not assume a larger drain can compensate for poor slope. Water follows gravity, and even a premium drain cannot fix flat spots, low areas, or a shower floor that was not properly formed before tile installation.
Treat Waterproofing as a Complete System
Tile is decorative and durable, but it is not waterproof on its own. Grout joints, corners, penetrations around fixtures, and the drain connection all need protection behind or below the visible finish materials.
A properly planned curbless shower uses a tested waterproofing system that ties together the shower floor, walls, corners, drain, and transition to the bathroom floor. The waterproofed area should extend beyond the immediate spray zone because a curbless design has fewer physical barriers to stop splashing.
This is not the place to mix unrelated products or rely on caulk as the primary defense against water. The shower should be flood-tested before tile is installed, when possible. A flood test gives the remodeling team an opportunity to find a leak while access is still straightforward, rather than after the bathroom is finished.
For a shower with a fixed glass panel, consider where water will land when someone turns on the shower or steps out. Glass reduces splash, but it does not eliminate it. The floor plan, showerhead direction, and drain location should work together.
Choose a Layout That Keeps Water in the Shower
A curbless shower needs enough room to function comfortably. A very open design can be beautiful, but an undersized shower without a door or return panel may send water into the main bathroom. The more open the entry, the more important showerhead placement becomes.
Whenever possible, position the showerhead so it sprays away from the opening. A fixed glass panel near the opening can help contain spray while preserving the open appearance. If the shower includes a rain head, hand shower, body sprays, or multiple users, allow extra space and plan drainage accordingly.
Think through daily use as well. Will the shower include a bench, recessed niche, grab bars, or a handheld showerhead? These features should be planned during framing and plumbing rough-in, not added after tile has been selected. A bench changes the shower’s usable standing area, while a niche must be located away from plumbing and positioned at a comfortable height.
Select Materials for Safety and Maintenance
Large, glossy floor tiles can look striking in a showroom, but they are not always the best fit for a wet shower floor. Smaller mosaic tile is a common choice because the additional grout lines provide traction and make it easier to follow a multi-directional slope. Larger tile can work with a single-slope linear drain, provided the product is rated for wet floor use and the installer can achieve a consistent plane.
Look for floor tile with suitable slip resistance, especially for households with young children, older adults, or anyone with mobility concerns. A curbless entry can improve accessibility, but accessibility involves more than removing a curb. Clear opening width, turning space, bench placement, support blocking for future grab bars, and a handheld shower all matter.
Natural stone requires realistic maintenance expectations. Some stones need regular sealing and can show water spots or etching. Porcelain often offers a lower-maintenance alternative with a wide range of stone- and concrete-look options.
Coordinate Plumbing, Ventilation, and Glass Early
A curbless shower remodel is easier when the decisions happen in the right order. The plumbing layout needs to be finalized before the drain is set. Electrical needs should account for lighting, exhaust ventilation, and any heated floor system. If the shower includes a glass enclosure, the glass company needs accurate finished measurements, but the desired panel configuration should be known early enough to guide wall framing and tile layout.
Ventilation deserves special attention in North Texas bathrooms, where humidity can linger after a hot shower. A properly sized exhaust fan, vented to the exterior, helps protect paint, drywall, cabinetry, and finishes throughout the room. It is a practical investment that supports the long-term performance of the renovation.
Set a Realistic Budget and Scope
Curbless showers often cost more than conventional shower replacements because the work can involve structural modifications, drain relocation, slab cutting, expanded waterproofing, and custom glass. The final investment depends heavily on what is behind the walls and below the floor, not only on the tile selected.
Ask for a clearly defined scope that identifies demolition, plumbing, substrate preparation, waterproofing, tile installation, glass, fixtures, and any needed permits or inspections. It is also wise to keep a contingency for conditions discovered after demolition, such as water damage, outdated plumbing, or unexpected slab work.
The lowest initial quote may leave out steps that are essential to a lasting result. A dependable remodeling plan explains what will be done, why it is needed, and how changes will be communicated if the existing bathroom reveals surprises.
A well-planned curbless shower should feel effortless once it is complete. That easy, open look is earned through careful preparation, accurate drainage, and craftsmanship that respects what is happening beneath every finished surface. Working with an experienced bathroom remodeling team, such as Oak Custom Remodeling, helps homeowners make those decisions with confidence before the first tile is set.