
A bathroom can look like a simple room to tear apart until the first wall opens and reveals plumbing lines, electrical wiring, hidden water damage, or an old floor that has failed beneath the tile. This bathroom demolition guide helps homeowners plan the removal phase with fewer surprises, better protection for the rest of the house, and a clearer understanding of when professional help is the sensible choice.
Demolition is not just the noisy beginning of a remodel. It sets the condition for every finish that follows. Careful removal protects structural framing, keeps dust out of living areas, prevents unnecessary damage to plumbing and electrical systems, and gives your remodeling team an honest view of what needs to be repaired before new materials go in.
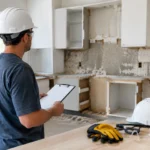
Start With a Scope, Not a Sledgehammer
Before removing a vanity or breaking tile, decide exactly what the project includes. Are you replacing finishes while keeping the existing layout? Moving a shower, toilet, or drain? Expanding the room into an adjacent closet? Each decision affects the demolition plan, permit requirements, labor, and budget.
A cosmetic update may involve removing flooring, wall tile, fixtures, and a vanity while preserving much of the existing drywall and plumbing locations. A full gut renovation is different. It can expose framing, subflooring, supply lines, drains, ventilation, and electrical circuits. The more systems you alter, the more valuable a detailed plan becomes.
It also helps to identify what stays. A homeowner may want to preserve a mirror, light fixture, door, or cabinetry for reuse. Mark these items clearly and remove them first. Salvage is possible, but it takes patience. Tile, especially, is rarely worth saving unless it has a specific historic or sentimental value.
Check for Risks Before Bathroom Demolition
Older homes can contain materials and conditions that should not be handled casually. In North Texas, bathrooms may hide prior repairs, slow leaks, aging cast-iron drain lines, or improperly installed shower systems that only become visible during removal.
If the home was built before 1978, have suspect paint tested before sanding, scraping, or disturbing painted surfaces. Lead-safe work practices matter, particularly around trim, doors, and older wall finishes. Homes built before the mid-1980s may also contain asbestos in flooring, mastic, insulation, textured materials, or certain backing products. Do not assume a material is safe based on how it looks. When there is a reasonable concern, testing and qualified abatement are the right next steps.
Mold deserves the same practical approach. A small amount of surface mildew from normal bathroom humidity is not unusual. Widespread staining, soft drywall, a persistent odor, or decayed framing may point to a leak that needs correction before the remodel continues. Covering damaged materials with new tile only delays a more expensive repair.
Shut Down Utilities and Protect Adjacent Areas
Water and electricity should be addressed before any fixture removal. Turn off the local water valves if they function properly, or shut off water to the house when necessary. Verify that the water is off by opening a faucet. Switch off the appropriate electrical circuits at the panel and confirm power is absent before touching wiring, switches, or light fixtures.
Gas is less common in bathrooms, but it may serve an adjacent water heater, fireplace, or other appliance. If demolition could affect a gas line, stop and involve a licensed professional.
Dust control is equally important, especially in an occupied home. Seal doorways with plastic barriers, cover nearby floors, protect HVAC registers, and create a clear path from the bathroom to the exterior. A demolition crew should not be carrying broken tile through a home without protecting the route first. Fine dust travels farther than most homeowners expect, and cleanup is much easier when containment is planned from the start.
The Right Order of Removal
The safest bathroom demolition sequence usually works from the least destructive tasks toward the more invasive ones. Start by clearing personal items and removing accessories such as mirrors, towel bars, shelves, toilet paper holders, and window treatments. Then remove fixtures and cabinetry before taking out wall and floor finishes.
A typical order looks like this:
- Remove movable items, accessories, and trim that will be replaced.
- Disconnect and remove the vanity, sink, toilet, lighting, and other fixtures.
- Take down drywall, wall tile, shower surrounds, or tub enclosures as required.
- Remove floor tile, underlayment, and damaged subflooring.
- Open only the wall or ceiling areas needed for plumbing, electrical, ventilation, or structural work.
This order is not absolute. For example, a cast-iron tub may need to come out before surrounding wall materials can be removed safely. A tile floor installed beneath a vanity may require the vanity to come out first. The goal is to avoid trapping yourself, damaging items that were meant to stay, or exposing more of the house than the project requires.
Fixtures Need More Care Than They Appear To
Toilets, vanities, and tubs seem straightforward, but each has a common failure point. A toilet must be drained, disconnected, and removed without damaging the flange or allowing sewer gas to enter the home. Once it is out, cover the drain opening securely.
Vanities can hide shutoff valves, electrical connections, and supply lines that have corroded over time. A wall-mounted sink may depend on framing support that is not visible until the unit comes off. Tubs are heavy, awkward, and often tied into wall surrounds and drain assemblies. Trying to force one through a tight bathroom can damage door frames, walls, or flooring outside the room.
When fixtures are being relocated, leave enough access for a plumber and electrician to evaluate the existing systems before closing walls again. This is the point where a full-service remodeling team can prevent a series of disconnected decisions.
Remove Tile Without Damaging the Structure
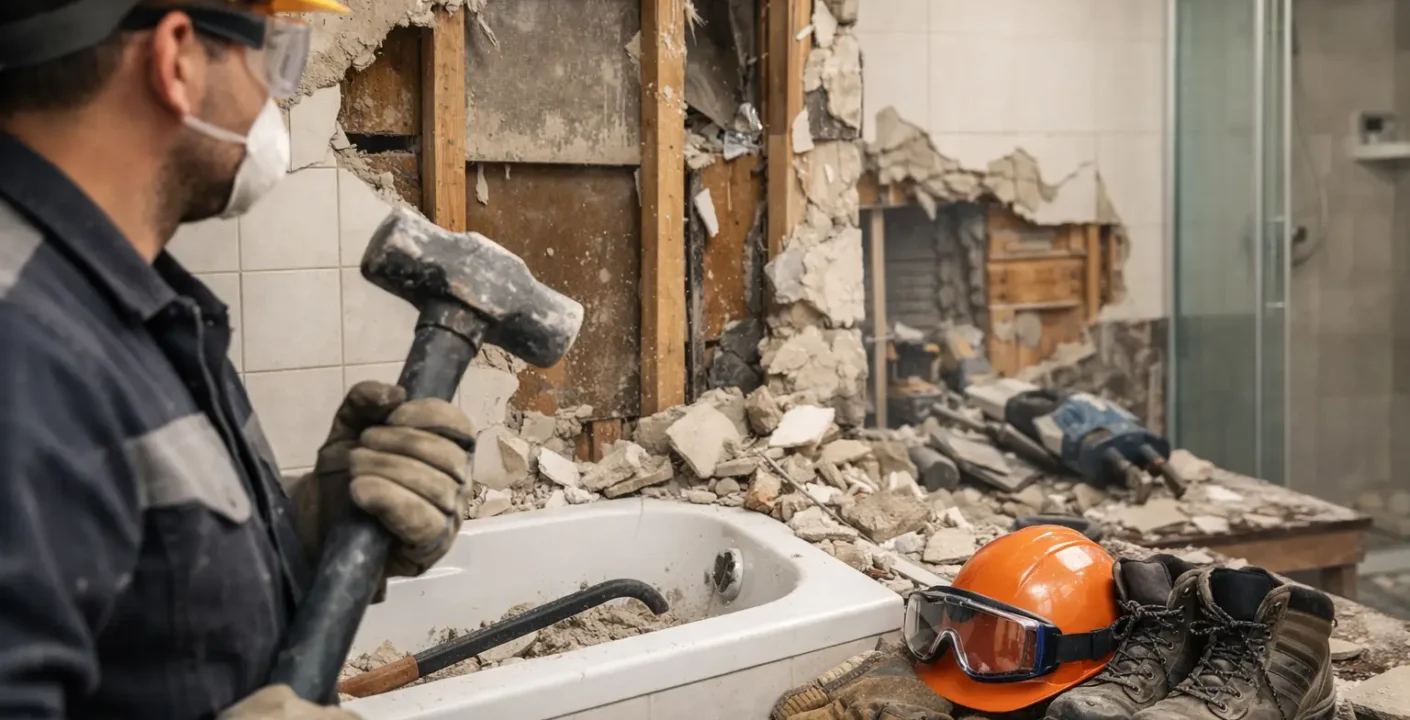
Tile demolition creates a lot of debris and can be physically demanding. Eye protection, gloves, sturdy boots, hearing protection, and a properly fitted respirator are basic safeguards. Long sleeves are also useful because tile shards are sharp.
For wall tile, begin at an exposed edge or a carefully made opening. Work in manageable sections rather than striking the entire wall aggressively. The objective is to remove tile and backer material without cutting into plumbing lines, electrical boxes, or framing. In a shower, expect the waterproofing system behind the tile to be damaged during removal. That is normal in a full renovation and is one reason new waterproofing must be installed correctly before new tile goes up.
Floor tile can be more difficult because the installation may include cement board, a thick mortar bed, or multiple layers from previous remodels. Pay close attention to the subfloor. Gouging or weakening it can create movement under the new floor, which eventually leads to cracked grout or tile. If the floor feels soft, swollen, or uneven after tile removal, investigate the cause rather than installing over it.
What Demolition Reveals and Why It Changes the Plan
The most useful moment in a bathroom remodel often happens after the room is opened up. A concealed leak may explain a stained ceiling below. Inadequate blocking may explain why a grab bar or vanity pulled away from the wall. An undersized exhaust duct may reveal why moisture has been lingering in the room.
Some discoveries require a change order or a revised timeline. That can be frustrating, but it is better than pretending the condition does not exist. Replacing rotted framing, correcting unsafe wiring, repairing a damaged drain, or leveling a failed subfloor protects the investment you are making in the finished bathroom.
This is also the time to think ahead. If you are adding a heavier floating vanity, a niche, a frameless glass enclosure, a rainfall showerhead, or accessibility features, the wall framing and plumbing should be prepared now. Small upgrades behind the walls are far less costly during demolition than after tile is installed.
Know When to Hire a Professional
Homeowners can often handle simple removal tasks, such as clearing the room, taking down accessories, or removing a freestanding cabinet. Full bathroom demolition is a different level of work when it involves plumbing changes, electrical work, potential hazardous materials, structural repairs, or waterproofed shower assemblies.
Professional demolition also brings practical advantages: debris management, dust containment, safe handling of heavy fixtures, and a coordinated plan for what happens immediately after removal. A bathroom left open for weeks can disrupt daily routines and expose the home to unnecessary dust, odors, and moisture concerns.
For Sachse and Dallas-Fort Worth homeowners, Oak Custom Remodeling approaches demolition as part of the complete renovation process, not as a separate tear-out job. That means the work is planned around the new layout, the materials being installed, required repairs, and a clear path toward a finished room that functions as intended.
A well-demolished bathroom should look clean, intentional, and ready for the next trade to begin work. If a hidden problem appears, address it while the walls and floor are open. That decision may not be the most exciting part of a remodel, but it is often the one that protects your new bathroom for years to come.